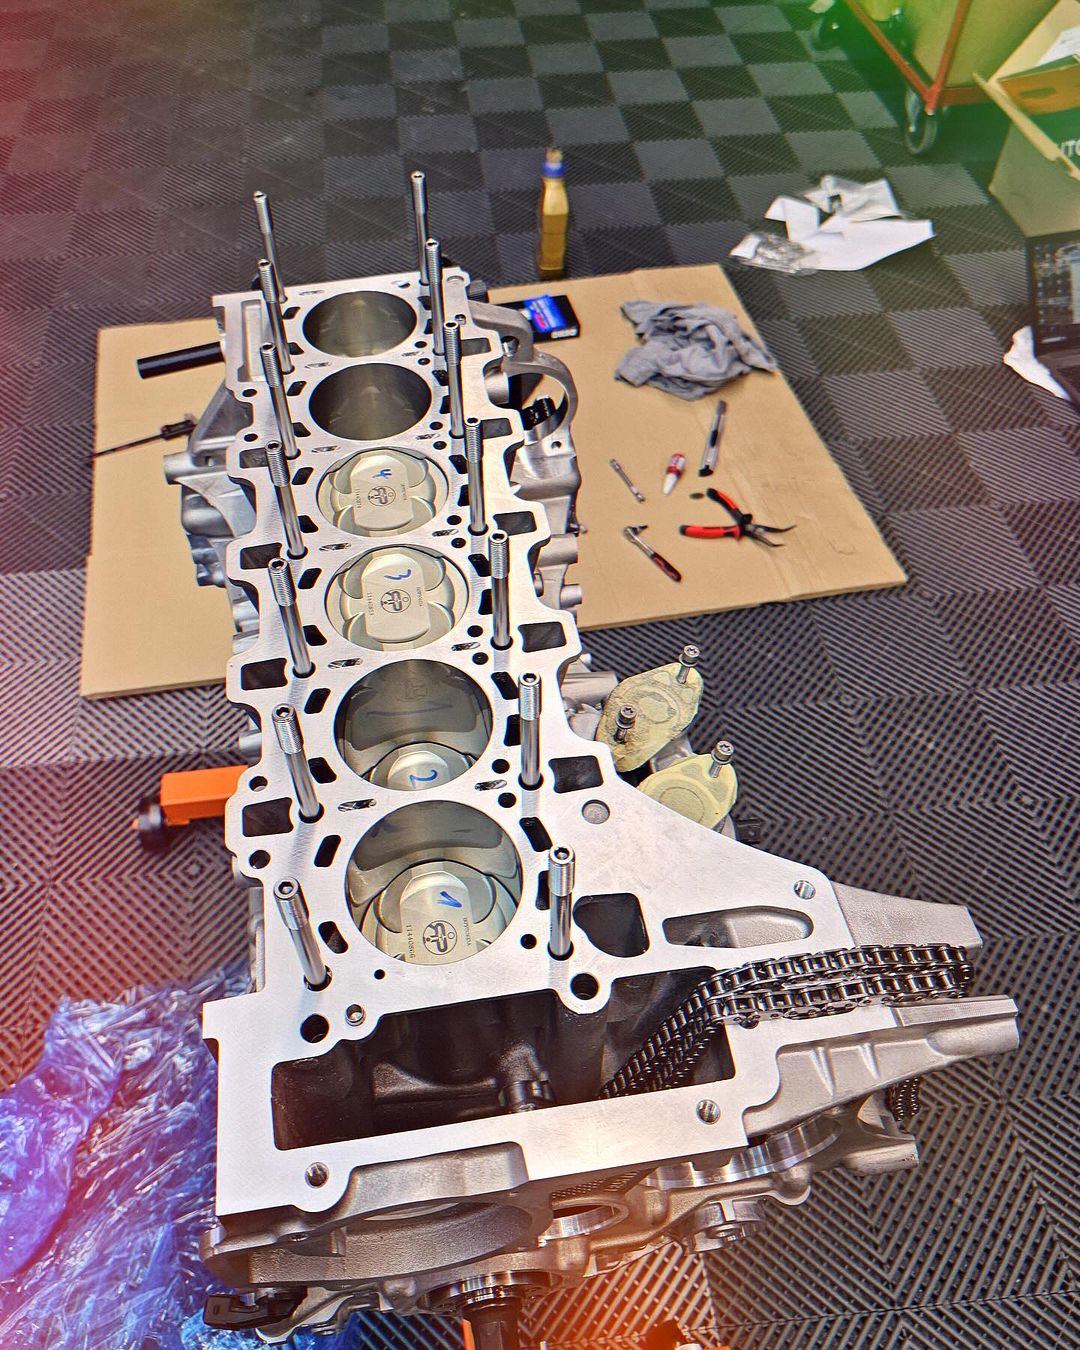
Installation Method For N55/S55 Head Stud Kits
Replaces: BMW part P102061410 (N55) and P102081410 (S55)
Application: BMW N55B30 and S55B30 turbocharged inline-six engine
Included: 14x 11mm Studs, 14x Washers, 14x Nuts and assembly lubricant
- (Only N55) It's crucial to perform drilling and tapping on the four outer 9mm holes in the engine block and head. Refer to “M9 to M11 conversion for BMW N55 block” document. This process enlarges them to 11mm holes, ensuring uniformity across all block holes.
- Begin by lubricating the block end threads of the studs with engine oil.
-
Insert the studs into the block and tighten them to approximately 10Nm, which is hand tight using a 5mm Allen wrench.
If you encounter any resistance, stop immediately. Back out the stud and inspect the threads on both the stud and the block. Use a Thread Chaser as needed to carefully clean and refine the threads if tightening by hand is not smooth and easy. - Verify the height of each stud relative to the others. If installed correctly, all studs (except outer four for N55), should be within +/- 0.3mm of each other in height.
- Install the head gasket and position the cylinder head, ensuring that both the washer surfaces and the cylinder head surface are completely degreased.
- Before final tightening, generously apply ARP Ultra-Torque fastener assembly lubricant to the stud threads and nut flanges. Do not apply lubricant on washers and block surface. Proceed to install the washers and nuts onto the studs, tightening them by hand until snug.
- HCR strongly recommends the use of ARP Ultra-Torque fastener assembly lubricant over alternative lubricants like motor oil. This preference ensures reduced friction on the studs and consistent clamping force, guaranteeing optimal fastener integrity and reliability.
TORQUE PROCEDURETighten the bolts sequentially as shown in bolt torque sequence diagram.
|
Bolt torque sequence  |